Tuesday, November 16, 2021

Painted Acorns for Autumn Decorations

Do you have hundreds of acorns falling out of your tree every autumn? Do you wonder what you could do with all of that free crafting supply?! I’ve got a couple of natural autumn decoration ideas to help you use up your acorns. A full list of supplies you’ll need can be found at the end of this post.

Yes, this photo was taken on our driveway after we swept up all the nuts that had fallen. There were so many I decided I needed a project to use them. It’s a free and lovely resource!
Rinse the nuts, dry them and then bake. Spread the nuts in a tray lined with foil. Bake at 200°F for two hours. Turn them every 30 minutes.
It’s likely you’ll have to clean each nut by hand. Throw out any that are broken or have holes in them.
Maybe sanding is all you’ll need to do to get a natural color you like from your bowl. Maybe you found a new bowl at the store that needs no alteration. But the wood on my vintage nutcracker bowl was too dark for me, and still dark after sanding. So I bleached it, by applying it with a sponge. It took bleaching three times to get it as light as I wanted. And the natural looking result was pleasing!
This brand does not list color on the can! The copper looking one was the color I ended up liking most and using in my projects. (The sticker price with the barcode on the shelf should list the color.)
Primer: This is optional. I did not use primer on my acorns but will do so in the future. The spray paint surprisingly scrapes off very easily. So if you want to skip primer, handle the nuts with care after they’ve been painted.
Spray the nuts in rows starting with the row closest to you. Then turn the whole thing and start again—keep going until you’ve rotated to and sprayed all four sides.
(Those orange seeds pods are called Putka Pods. Super cute and PERFECT for fall right?)
BONUS PROJECT:
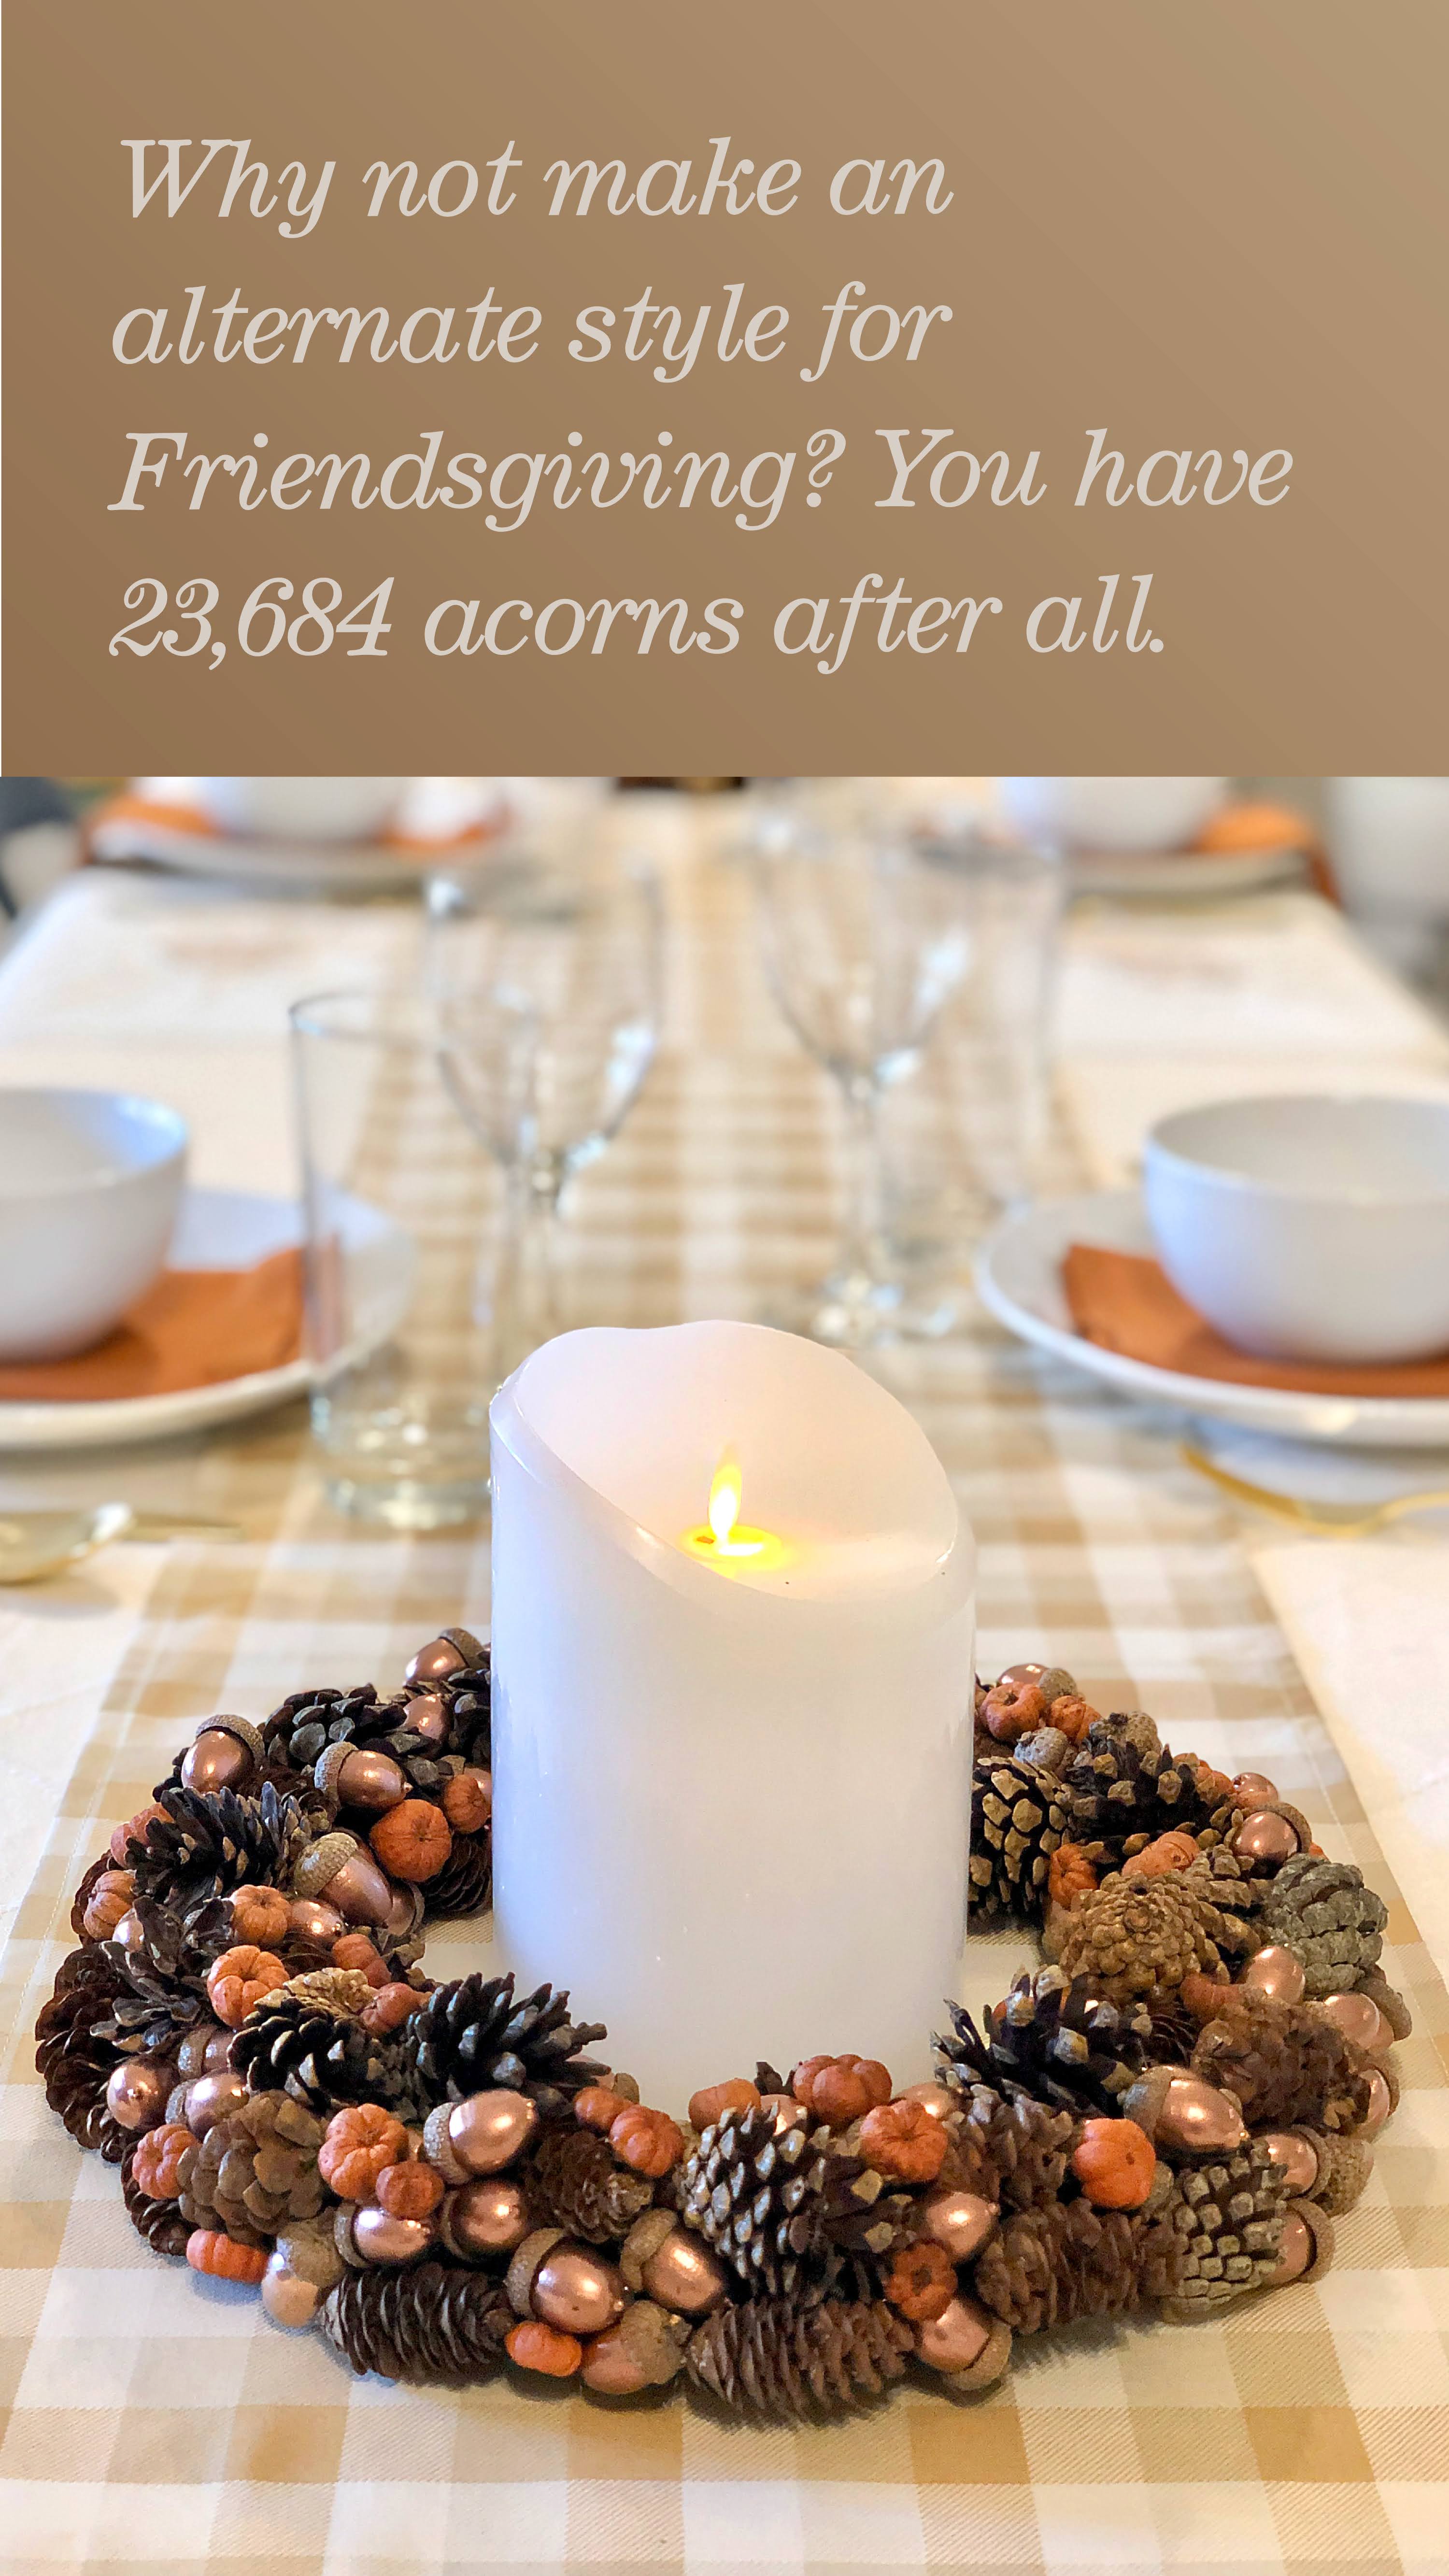
This autumn wreath was made using a wreath form found at the dollar store. Cut it in half like a bagel, then wrap one half with either a dark cloth or ribbon (I recommend black or dark brown) so the green styrofoam doesn’t show. Use hot glue to attach all your ingredients. It’s quite easy, just take your time!

I hope this helped you think of some autumn projects to spice up your home this fall season.

SUPPLIES FOR BOWL CANDLE HOLDER:
Pillar candle
Wooden Bowl
Acorns
Putka pods (about 1-2 oz)
Small pinecones (1 bag)
Bleach (if needed)
Hot glue and gun

SUPPLIES FOR WREATH
Small styrofoam wreath form
Acorns
Putka pods (about 1-2 oz)
Small pinecones (1 bag)
Medium small pinecones (at least 5 but more is better)
Hot glue and gun (this takes a lot of glue)
Dark ribbon or cloth, enough length to wrap around the wreath form
Ribbon for bow and hanging

Monday, October 4, 2021

Throw an Epic Pirate Birthday Party, Perfect for Adults

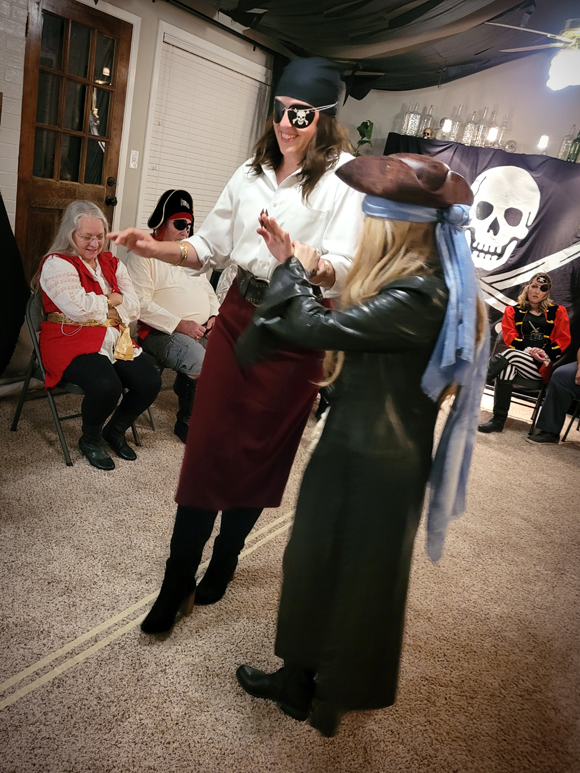
My husband has a man crush on Johnny Depp as Captain Jack Sparrow in the Pirates of the Caribbean movies. So when said husband turned 40, I threw him a pirate costumed dinner party. He dressed up as Captain Sparrow and guests were invited to dress as any other pirate (generic or cosplay.) For simplicity, all my inspiration and details came from only the first movie in the series. 

Here are some ideas on how you can can throw an epic pirate themed costume dinner party like ours that's perfect for adults or can easily be tweaked for kids!

The Invitations

It always adds a bit of je ne sais quoi to build up anticipation for a party and put forth a task or problem to be solved. For this pirate themed birthday party, send out invitations to yer mateys under the premise that Captain Jack Sparrow is looking for a new crew and there will be a chance to show their mettle at a specified time and date. Be sure to outline the dress code and tell them to come prepared! (See wording example in the image below. Illustration was purchased here.)

Our invitations were coffee stained, edge burnt, rolled up, tagged and tied with a piece of leather. Then they were hand delivered to each person’s mailbox whom we wanted to invite. (See how to age paper with coffee and salt here.)

The Decorations

Before guests arrive, post another bit of paraphernalia outside your door to build more anticipation for what might be awaiting them inside. Did you notice? The wording on the posting shown below comes from the first Pirates of the Caribbean movie! (Illustration purchased here.)

Upon entering the house, guests can be greeted with a large pirate flag (which becomes a perfect spot for photos), and ragged black sails undulating from the ceiling above (black plastic tablecloths with slashes in them. A very cheap trick with major impact.) This pirate flag was handmade by  projecting the skull image onto a black king size sheet, traced with chalk and then painted with inexpensive acrylic craft paint.

Cover any large space, like a bar, with netting and empty liqueur bottles stopped with candles and corks. (I had spent a few weeks ahead of time collecting the bottles from friends and neighbors.) The fish netting I found here.


Another wall could hold a pirate map (found here), or any other pirate information you think is interesting or humorous. 

Since this party was for adults, I thought it might be of interest to post bits of information about real pirates in history. And since pirates often had nicknames, I made up this chart (which you can download and print on your own cool paper here) and posted it among the historical pirate information. It was a hit!

If you don’t have skeletons, I recommend borrowing a couple from a friend if you can. They'll fill up any empty spaces you have and infuse humor into the room. The fellow shown below, I positioned holding chocolate gold coins, one in his mouth and a couple in his hand. 

Halfway through the evening I noticed someone had eaten the chocolate offering from the skeleton’s hand—something I thought was both funny and totally appropriate! 

And lastly don’t forget the mantle. Place more bottles, books, candles and whatever else you might have laying around that feels pirate, ocean, or ship themed. On mine, I made sure to include portrait skulls of the pirate brethren, Morgan and Bartholomew. 

The Centerpieces and Place Settings

Since we’d set up three, 6 foot tables end to end, I created two different centerpieces and set them out in an alternating fashion down the row of tables.

First, you can’t go wrong with skulls and drippy candles for a pirate theme.


The black skulls seemed to disappear on the black table, so using a dry brush technique I painted gold on areas that needed highlighting. The little skulls needed to look less like white plastic and more like bone. So those got covered in wood stain, then I wiped it off in places where I wanted it to be lighter. Both techniques worked well. Here’s a link to a helpful video with instructions.

Second, platters of apples MUST be included too. This is the only food we see Captain Jack Sparrow eat in the first movie, and captain Barbosa would literally kill to eat one, so it makes for a very fitting table decoration idea.


And as for the place settings, I suggest you put the first activity (a questionnaire) folded upon the plate with a feather pen. (These are cheap to make if you buy a box of pens and a package of feathers at your local craft store and make them yourself.) It gives guests something to do while waiting for the party to get started...this activity will be explained shortly. 

ALSO on the plate, under the questionnaire, place a small score card for keeping points. Here’s a link to print the score card.

Four Pirate Party Activities

Since the pirate guests are essentially “trying out” to become Jack Sparrow’s new mates, each person will be earning points throughout the evening. Those with the most points at the end will be the new crew!

1. SCROLLS FOR EXTRA POINTS

First, DO NOT let the birthday boy or girl know what is written on the scrolls. In fact, don’t tell them about this activity at all. 

As guests begin arriving, welcome them and ask them to draw one scroll each. The scrolls contain a small task that can be performed at any time during the evening and will award them an extra 5 points. (The guest may choose not to do it as well.) The guest can trade scrolls but can only do one scroll that evening.


Some examples of tasks include:

• Raise yer glass and give a toast, end it with “Drink up me hearties yo, ho!”

• Bend the knee and kiss a ring on Captain Jack Sparrow’s hand and say, “Captain Sir, ye have me loyalty.”

These ended up being hillarious! Our Captain Sparrow was happily caught off guard, as were the guests, when most of these tasks were performed. Here is a link to the tasks you could consider including in your evening. 

2. HOW WELL DO YE KNOW THE CAPTAIN AND THE PIRATE WAY OF LIVIN'?

Remember the pamphlet I had at each place setting? Here’s a better look at the front.

Each one had a different quote from the movie printed on the back.

The instructions inside tell the  players to “Try to to make yer answers match those of [the birthday person’s name].” They get points NOT necessarily for answering the questions correctly...but if their answers MATCH those of the party’s captain. Now there’s a twist! Here's a link to the inside and the answers.

Give guests time to work on this as you are waiting for others to arrive, they can also work on it during dinner and you can give them time a little after. Then go around the room, and have each pirate say aloud their answer to each question in turn, the captain answers last. In our group, some answers were funny, silly, and even revealing! 

I can’t give you the link to the front or back of the pamphlet because I paid to use the stock illustrations. But I’ll share the link to the image on the front so you can purchase and create the pamphlet yourself. Link to skull ring image (front.) And here's a link to a similar sword and gun for the back.

3. FINDING GOLD

First you'll need a gold piece to show everyone. This could be a chocolate gold coin, or a piece of Aztec gold emulating the one from the movie, whatever you want as long as it’s gold. Just don’t make it any smaller than a quarter. 

Explain to your pirate guests that Captain Sparrow needs a crew that is good at finding gold—obviously. If you are the MC for the evening, you'll be hiding the gold coin first. Send the pirates out of the room while you hide the coin. Bring them all back and play starts.

Rules: The coin must be hidden in plain sight. Make it EASY. Players shouldn't have to touch, move, open, or stand on anything to see it. The coin will be hidden within a certain boundary (our boundaries were the living room and the dining room.) Don’t be tricky in finding a hiding place, else you run the chance of game play taking too long. The quicker people can find it the better. Hints can be given if the searching takes too long.

The first person to find said coin will leave it in place, and shall quietly sit down without revealing where they saw the coin. The second player to see it does the same. 

If you have a small number of guests, play can go until everyone has found the coin. We had 12 people in our group, so play ended at 6 people finding the coin otherwise it would have gone on too long. Assign points accordingly. (In our game, the first person received 3 points, the next 2 people got two points, and the next 3 people won one point each.)

The next person to hide the coin can either be the looser of the game or the pirate with the most points so far that evening—not fair but—pirate!

4. PIN THE X ON THE MAP

You can’t have a party theme that inherently includes eye patches and a map and not play “pin the X on the map!” (Map found here.)

But this game gets a little tweaking. Explain that if the pirates want to be part of the crew they need to know how to read a map so well that they can do it with their eyes closed AND guess where the Captain might want to go next.

Pass out the Xs and have the players write their name on them.

Then, tell the birthday person pick out a place on the map without revealing it to anyone. Now the players must guess where that place might be and put their X in that spot while being blinded—or rather, while wearing TWO eye patches (patches purchased here.) AND they must get to the map while walking a plank! Each time they step off the plank, they loose a point. Guests may shout out “ to the left” or “right a little more” to help their mateys.

The plank can be outlined by masking tape on the floor or you can use an actual plank of wood.  I recommend the plank be about 10 inches wide and around 5 adult steps long. (Ours was bit too long and way too narrow. We ended up guiding the players by hand so they wouldn’t tip over. Though, it was a little funny—we all looked a bit drunk wobbling down the path and there wasn’t a drop of alcohol being served that night.)

After all Xs have been placed, the Captain goes last, blind like all the rest, and tries to place his X on the location he picked out earlier. All the players with the closest Xs to the Captain’s gets points.

Remember, no feeling around on the map. The first touch is where the X gets placed. But DO warn the player when they’ve reached the wall. And don’t forget to spin them before setting them free.

A link for a print out of Xs you can cut out is here.

WINNING AND ENDING THE EVENING WITH PHOTOS OPS

Have yer mateys add up their points. Those with the highest scores get a place on Captain Jack Sparrow’s new crew. You can give prizes or not, and I’m sure you can think of all kinds of ideas for that.

The map and the flag double as a great place for your new crew-mate photos. Do this toward the end, maybe while cake is being served, and don’t be shy—play a little for the camera!

Sunday, January 31, 2021

DIY Ombre Valentine Pompom Wreath


With all this extra time at home we have these days I thought I'd let the creative juices flow and come up with my own unique ombre Valentine’s Day Pompom wreath design! 
In my closet I have a bunch of wreath forms left over from the dollar store, Additionally, I have a friend who, having just acquired a few bags full of yarn was also looking for some way to use up her supply. 
So we got together on Zoom, we started crafting!

Here are the supplies you will need for your ombre Valentine pompom wreath:


– 10 inch wreath form (most dollar stores carry these. Yes, mine is cut in half like a bagel—it was my genius penny pinching idea to get more forms for less.) The finished wreath will be around 13 or 14 inches in diameter. 
– Red felt (Spend a little more for the good thick stuff.)
– Three skeins of yarn for making pompoms (medium pink, light pink, cream)
– 1.8 inch pompom maker, I bought  mine on Amazon here. Four sizes are included in the box.)
– Wooden house ornament (The one I used came from World Market but is now sold out. However I have done a search for other options and styles and will include links to those at the end of this post.)
– Hot glue and gun
– Scissors
– Pink sewing floss and needle
– Corsage pins (optional, and I’ll explain why in step five of the directions)
FIRST
You’ll want to start crafting those cute soft pompoms with a 1.8 inch pompom maker as soon as possible. Pick your favorite show to set up in front of and get to wrapping, tying, clipping and shaping! You will need about:
15 medium pink pompoms
6 transition from medium to light pink pompoms (just alternate the colors you are using as you are wrapping. For mine, I wrapped one side half way with medium pink, then finished with light pink. And then for the other half I reversed the order in which I used the colors.)
15 light pink pompoms
6 transition from light pink to cream pompoms
15 cream pompoms

Note: you CAN skip making the transition pompoms, but I think they go a long way to helping the ombre effect look more smooth.

SECOND
Using your hot glue, begin attaching the pompoms. It’s easier to put the glue on the wreath form and then attach pompom. Glue a pompom on either side of the form and one in the middle and don’t be afraid to snuggle them right up against each other.


Start with either your lightest color or your darkest. When you are ready to attach your transition colors you will then start working from side to side of the form. The right side gets three transition colors, and then the left side gets three. Then, move on to the middle solid color, still working back and forth from side to side so everything stays even.

THIRD
Cut out multiple size hearts out of your felt, the example shows 13. And now that your wreath is assembled you can more easily see what size hearts you want make. 

FOURTH
Using your needle and floss, stitch around the edges of each heart. Use an overcast or whip stitch. This will give them a finished look.


*FIFTH
Get ready to attach your hearts. Lay them out on the wreath to see how you would like them to look and where you would like them to rest. Notice amongst the large bunch of hearts above the house, that the bottom tips of the hearts point toward the house chimney. This is because I want them to seem as if they  coming up out of the chimney. You can either glue them directly onto the wreath/pompoms OR you can try the following suggestion:

*Put a dab of hot glue on the back of a heart and place a corsage pin directly on top of it pointing up. (Corsage pins are longer than sewing pins.) When the glue is no longer hot, you can now push the hearts into the pompoms and turn them however you like. I personally like this option because first, I wanted more room to play with the placement of the hearts AFTER the wreath was done AND I like that the hearts almost seem like they are gently resting atop the pompoms instead of firmly pushed and glued into them. Does that make sense?


SIXTH
Figure out how you would like your little house to sit. Do you want it to be seen straight on as in the example? Or perhaps sitting at an angle? (Which I wish I had done now that I’ve been looking at it for a few days.) 
Trim down the pompoms the house will be sitting on so they are flat. Now the house can sit firmly and straight. Glue it down and your done with your ombre Valentine’s Day wreath!

Don’t forget to attach a ribbon or a loop to the back and it’s ready to hang! I hope you enjoy this ombre pompom Valentine’s Day craft project.

Links to little houses for the wreath:
TINSKY wooden lighted house on Amazon
Little wooden houses on Etsy from LFRustics
Simple house silhouette on Etsy from Bison Coating Supply 
Small cottages on Etsy from PaintingsbyElena
Hand painted block houses on Etsy from ANAMARKOkids
If you want to purchase a plain block house and paint it yourself, there are several vendors on Etsy, just do a quick search under “little wooden houses” and many options will come up. You also have the option of creating your own out of chipboard or construction paper and it could be really quite lovely!

Wednesday, November 11, 2020

Cute and Easy DIY Holiday Advent Calendar

Cute and Easy DIY Advent Calendar

This advent calendar craft project works well if you have scraps of pretty Christmas paper that need to be used up. Or if you just want a reason to purchase a pad of colorful holiday patterned paper, this is an easy, DIY holiday craft project to fill your afternoon. (Or get together with your friends and have a craft night!)

You will need the following supplies:


• Twenty-five 2x2x2 inch party favor boxes. (I found mine here, in a pack of 50—some for you AND a friend—and there are color options if you don’t prefer the Kraft color.) 

• Elmers or similar glue.

• Rubber cement (not necessary but I prefer to use it when I want to avoid wrinkling.)

• Clear wrapping tape or other.

• Scissors and/or Exacto knife.

• Fancy bakers twine (can be found at most craft stores.)

• 5 different sheets of pretty holiday patterned paper.

• Numbers on squares printed on cardstock. Click or tap here for the free printable file.

• Black cardstock (you don’t need much, a scrap piece will do.)

• Something to put in the boxes.

1. Print the sheet with numbers on cardstock and cut them out. Here is the free printable file. (You’ll notice there are two pages to print. The second, is for step 2.)

2. Print the sheet with the cut marks on the back of all your patterned paper. Cut them out. If you have five different patterns, you’ll need to cut five squares out of each.

3. Lay out all your patterned squares in whatever arrangement is most pleasing to you (as seen above) and start glueing the numbers to them. This is where I like to use the rubber cement. 

TIP: If you brush rubber cement on BOTH surfaces that will be sticking to one another, let them dry, and then put them together, you won’t get any wrinkling. AND you can simply rub off any excess making it easy to get each edge and each corner totally glued down.

4. Now you can glue all your squares to the lid of each box. Again, I used rubber cement for this part.

5. Cut a 1 inch strip of your black paper. Then slice the strip into “tabs” as seen below, a little larger than 1/4 of an inch wide. You could skip this part, but I don’t recommend it. The tabs help get the lids open because they interlock with the side flaps making them difficult to open when the advent calendar is completely assembled.

6. Using Elmers glue, attach each little black tab to the lip of the lid as seen above. I used the white glue here because it has a strong bond once dry.

7. Now you need to start attaching these little gift boxes to one another. You'll find that using both glue and tape will give you the most secure, tight fit. Note: don’t use tape on the joints that will be showing on the outer edge of the final project. I also found it helpful to tape the bottoms of the boxes together too. You can use packing tape for this to get FULL coverage.

8. Wrap your fancy bakers twine around the whole thing. I recommend looping it around at least five times for a more pleasing look. IMPORTANT: If you're filling the advent calendar boxes with light weight items you can attach something as shown in the image below so it can be hung. 

Please note: My finished piece held 2 pounds of candy and when I lifted it by the hang string, the corner boxes couldn’t hold the weight. But it still looks great laid down or leaned up against the wall.


9. Now it’s time to fill your advent calendar with prizes, things to do, little notes, or candy...whatever! Then tuck those lids securely in.

If you choose to go the candy route...I highly recommend going to a bin store like WinCo or Food4Less etc. It’s an inexpensive option, and that way each box can have something different to try.

That’s it! You’re done. It’s really so simple and will turn out cute. It’s a good holiday craft project!


Sparkling Advent Ornaments

Watch this video to see the cutest little handmade advent ornaments made out of sparkly paper. They are easy and intuitive to make. Here yo...